Getting Started
Set up Git repository and clone project
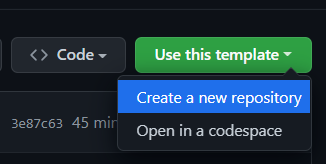
Once logged in to GitHub, go to the repository at https://github.com/buckldav/unity-state-machine. Click on the “Use this template” → “Create a new repository”.

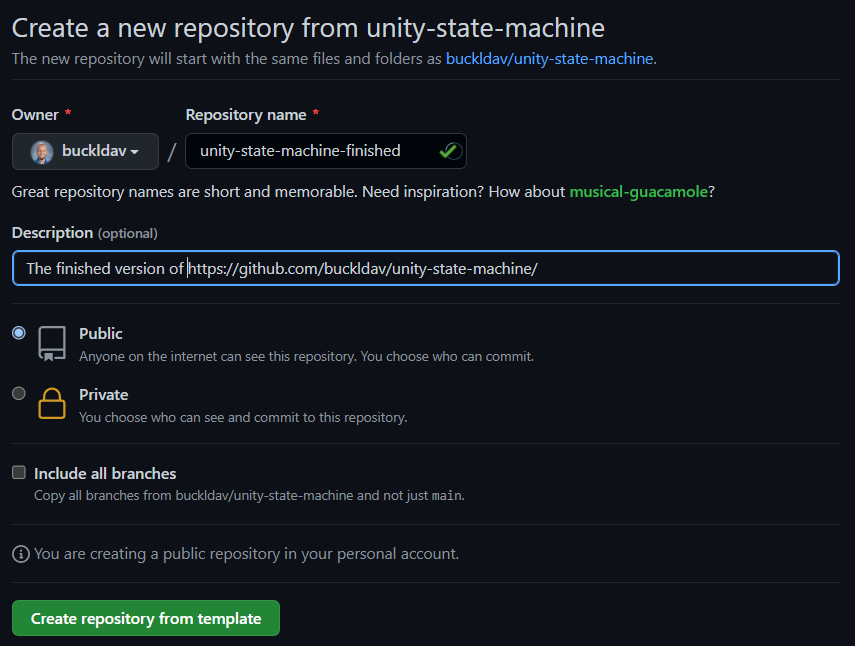
Then, name your repository and click “Create repository from template”.

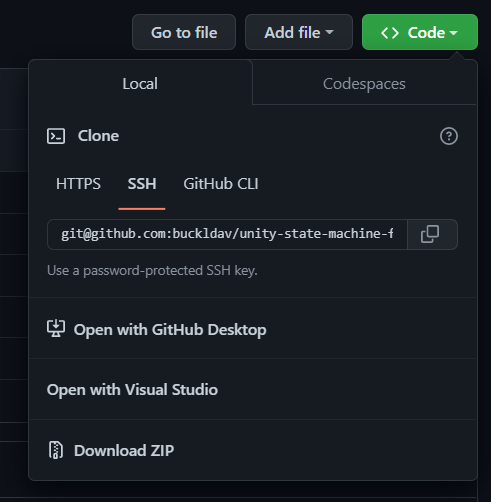
Finally, clone the repository with your preferred method. We recommend using either:
git clonein a Git Bash terminal or- “Open with GitHub Desktop”

Open project
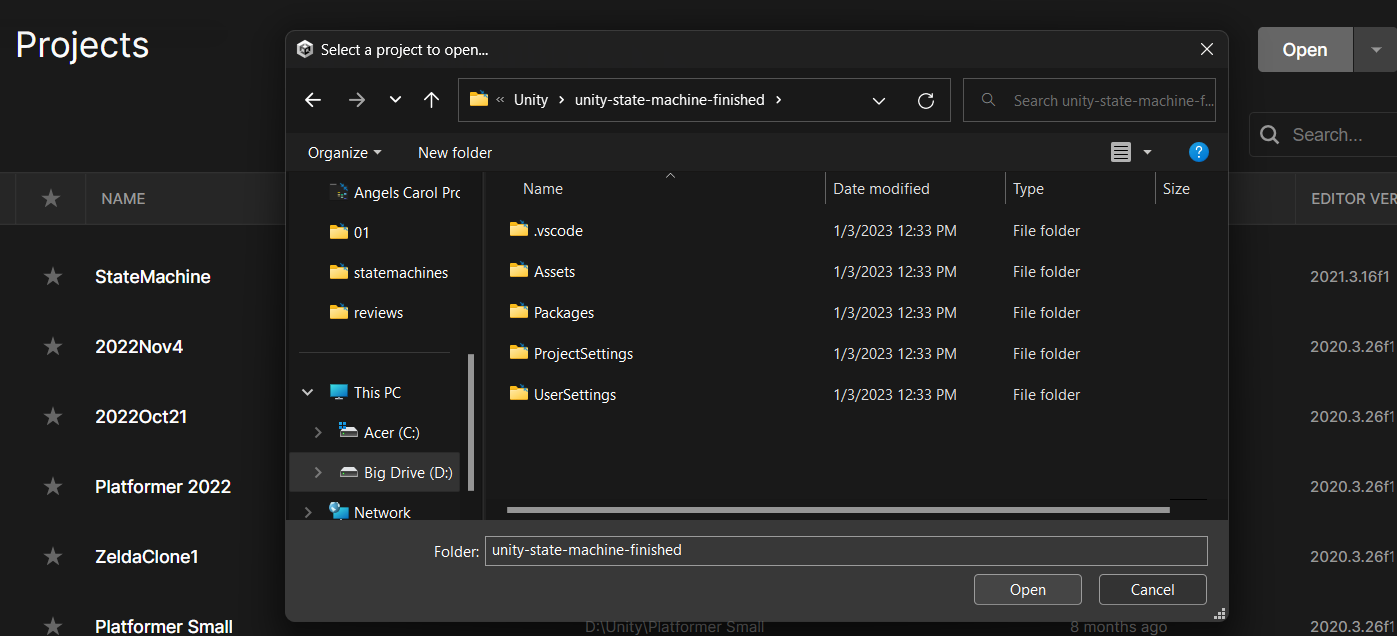
Go to Unity Hub and click “Open” to open the cloned project. Then, navigate in your filesystem to the folder where the project is located (in the picture below, the folder name is unity-state-machine-finished), select the folder, and click “Open”.

Open Scenes/SampleScene to ssee the game scene.
Explore files and GameObjects
The following features are already implemented:
- A Player GameObject with these states:
Falling,Moving, andJumping. Arrow keys enable movement (Left, Right, and Up). - Two Tilemaps, one for Ground (enables the
Jumpingstate) and one for Walls (cannot be jumped off of). - A Enemy. When the Player collides with an Enemy, the Player respawns.
The Player Controller and State Machine
In Scripts/PlayerController.cs, there is an enum that contains 3 different player states. The player starts in the falling state.
enum PlayerState {
    Moving,
    Jumping,
    Falling,
}

private PlayerState currentState = PlayerState.Falling;
Here is a diagram that outlines the possible transitions between states.
Take some time to read through the code and play the game to see when the states change.
