Prefabs and Scenes
Now that we have a scene working with movement, collectibles, and a score, we need to have a way to quickly reuse these GameObjects so that we can make multiple scenes (levels). To do this, we will use Prefabs (read this page in the Unity docs about Prefabs for more).
Create Prefabs from GameObjects
- Drag each of your GameObjects from the Hierarchy to the
Assets/Prefabswindow. You should see their names turn blue in your Hierarchy. - Rename your Scene to “Scene1” because we will have multiple scenes.
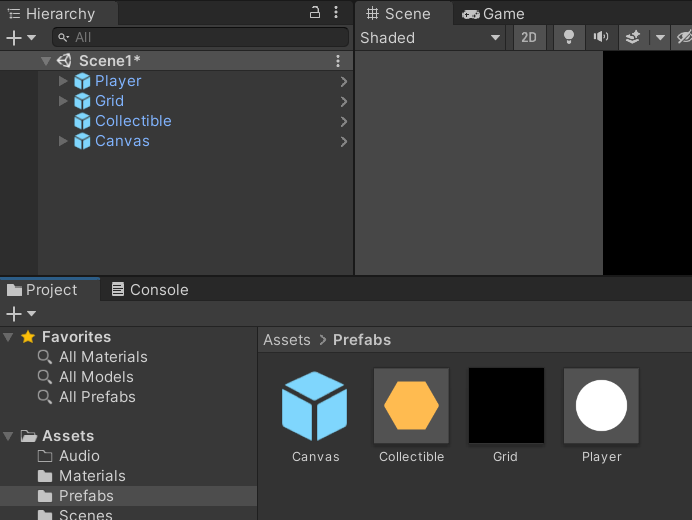
Create a New Scene and Add Prefabs
1. Create a New Scene
Use Ctrl+N or open File > New Scene to create a new scene.

Select “Basic 2D (Built-in)” and click “Create”.
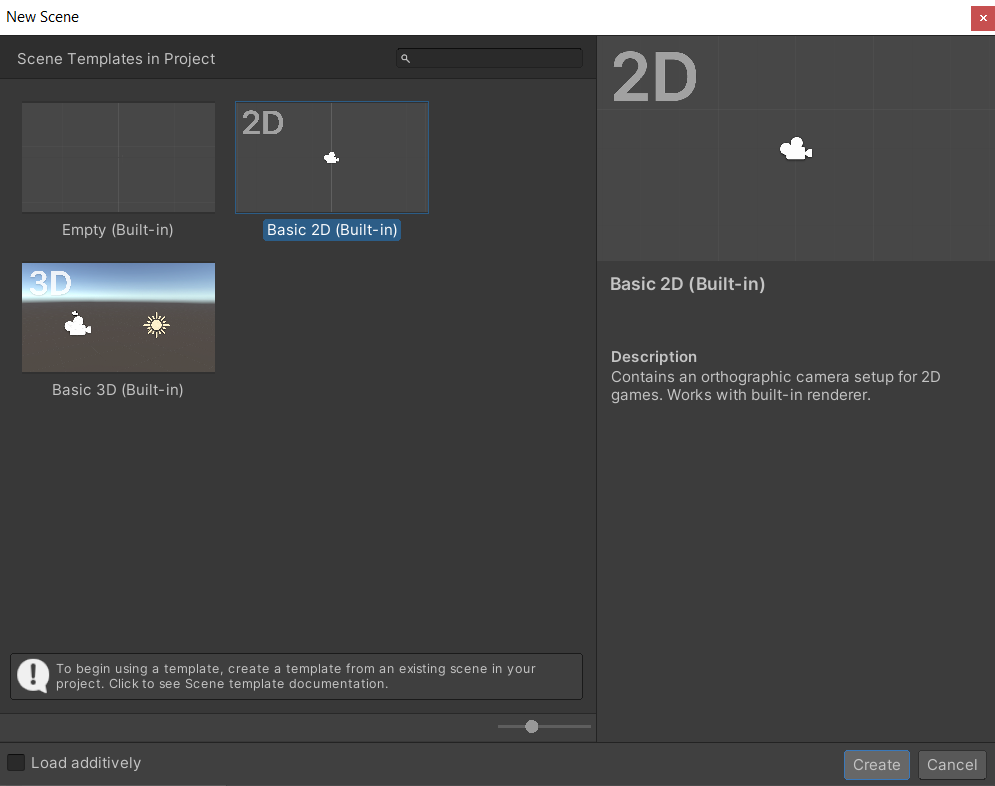
2. Save the Scene
Once the scene is created, right-click on it in the Hierarchy and click “Save Scene As”

Select your Scenes Folder <projectname>/Assets/Scenes and save the scene as “Scene2”.
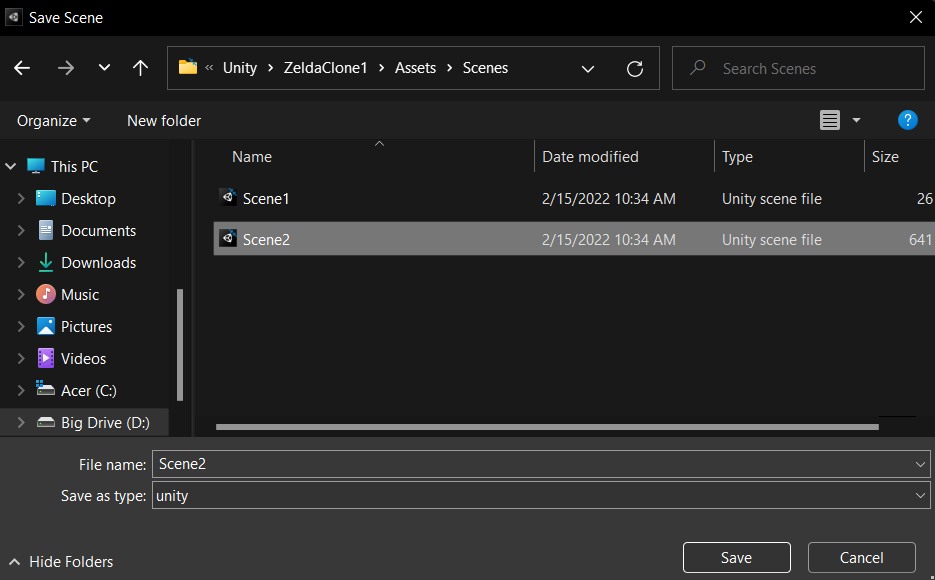
3. Include the Scene in Your Build Settings
We need to include the scene in the build settings even if you are not planning on releasing this game. Open Build Settings with Ctrl+Shift+B or from the File menu.
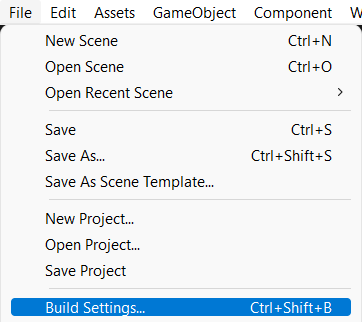
Check the boxes next to your each of your scenes. If you do plan on releasing this game to make it playable on the web, select “WebGL” for the Platform while you are here.
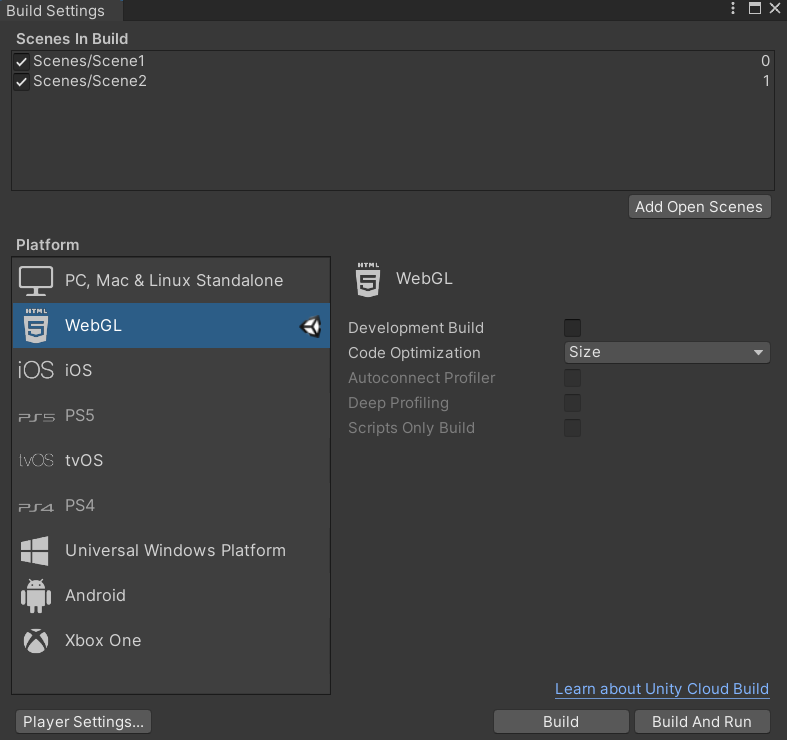
4. Add Prefabs to your Scene
If it’s not already open, open Scene2 from your Assets/Scenes folder in the Project window.
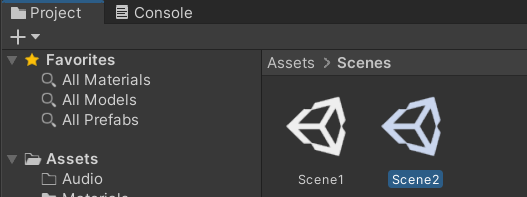
Navigate to your Prefabs folder in the Project window and drag any prefabs that you want to include into your Scene’s Hierarchy. Set any variables as needed (i.e. the Player speed, the Collectible’s score text).
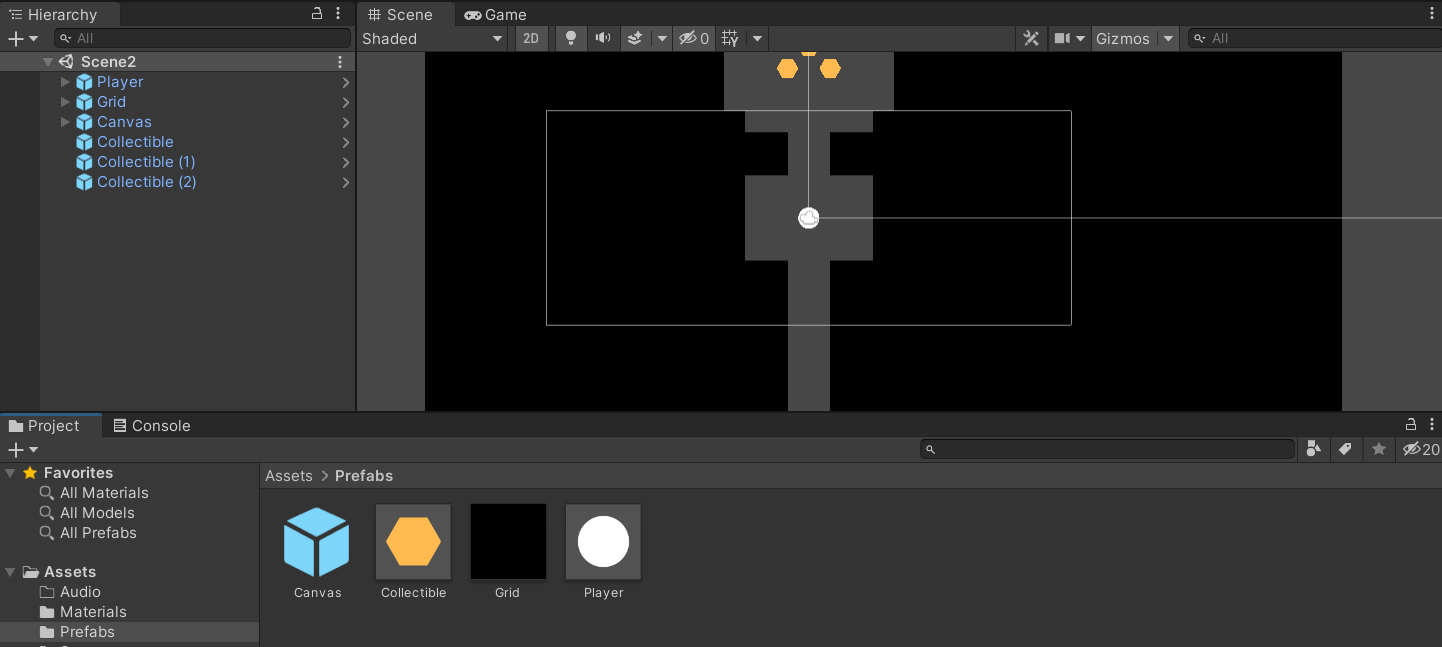
When you press play, the current scene (in this case, Scene2) will be what loads.