Traverse Through Scenes and Doors
Now that we have two levels, we need to make a way for a player to get from one to the other. In this tutorial, we will create a Door GameObject that, when collided with, will load the next scene.
Create Door GameObject
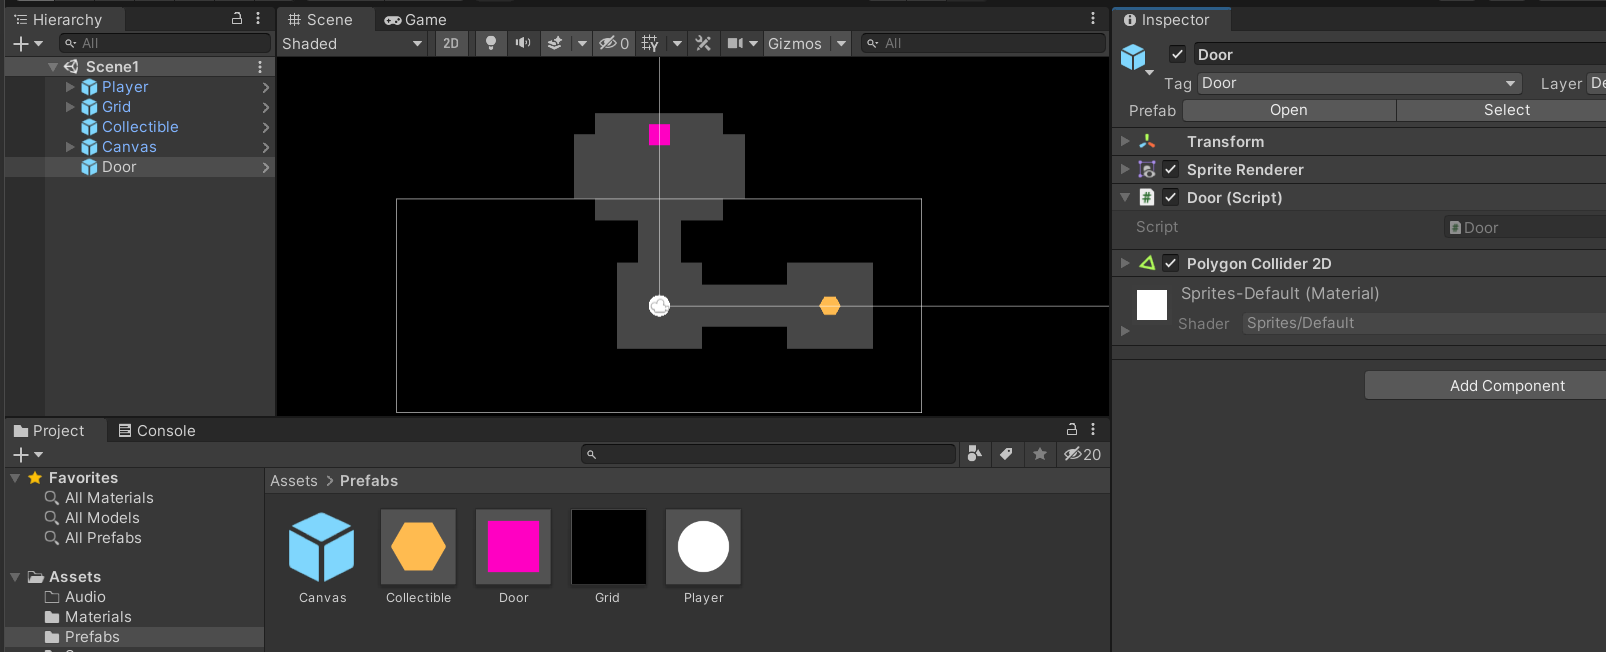
In Scene1, Create a Door GameObject in the Hierarchy that has the following properties:
- A name and tag of “Door”
- A script called “Door”
- A Polygon Collider 2D
When you have created it and placed it in your scene, drag the GameObject from the Hierarchy to the prefabs folder.

Door Script
Open the Door.cs script and add the following:
using UnityEngine;
using UnityEngine.SceneManagement;

public class Door : MonoBehaviour
{
    private void OnCollisionEnter2D(Collision2D other)
    {
        // If the player collided with the door
        if (other.gameObject.tag == "Player")
        {
            // Load the next scene
            // The buildIndex is from the Build Settings
            int currentScene = SceneManager.GetActiveScene().buildIndex;
            int nextScene = currentScene + 1;
            SceneManager.LoadScene(nextScene, LoadSceneMode.Single);
        }
    }
}
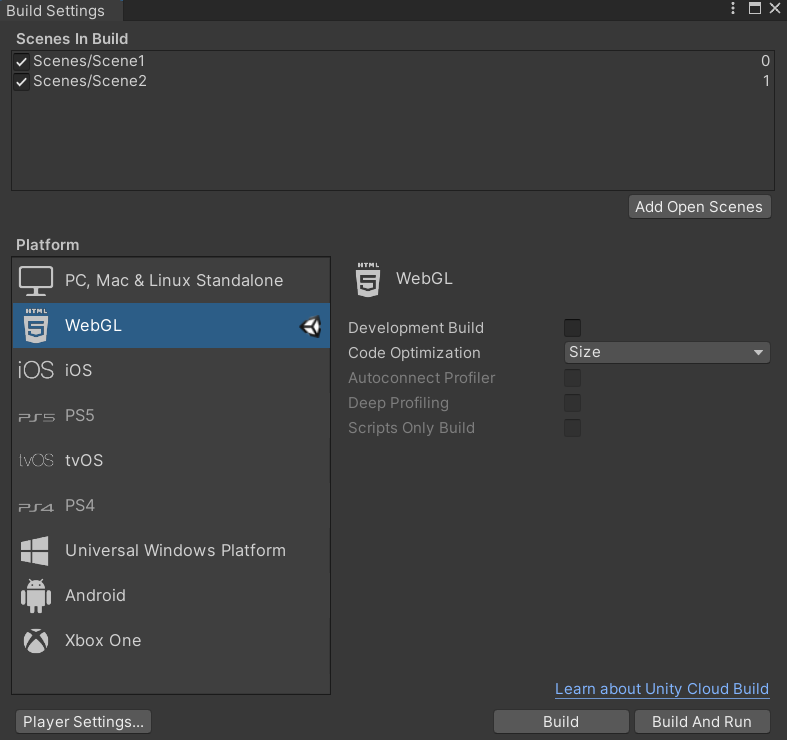
The buildIndex in the code is from the Build Settings (see below, Ctrl+Shift+B to open). You can load any scene by index. The buildIndex for Scenes/Scene1 in this case is 0. So, when the Player collides with a Door, the next Scene in the Build Settings will be loaded.

Testing
Test out your game. Add multiple scenes. Add collectibles that take away from your score. Keep track of something else in addition to score on the HUD. Get creative!
See the result of this Unity tutorial at https://github.com/buckldav/top-down-unity. Play the result at https://td.dbuckley.dev.